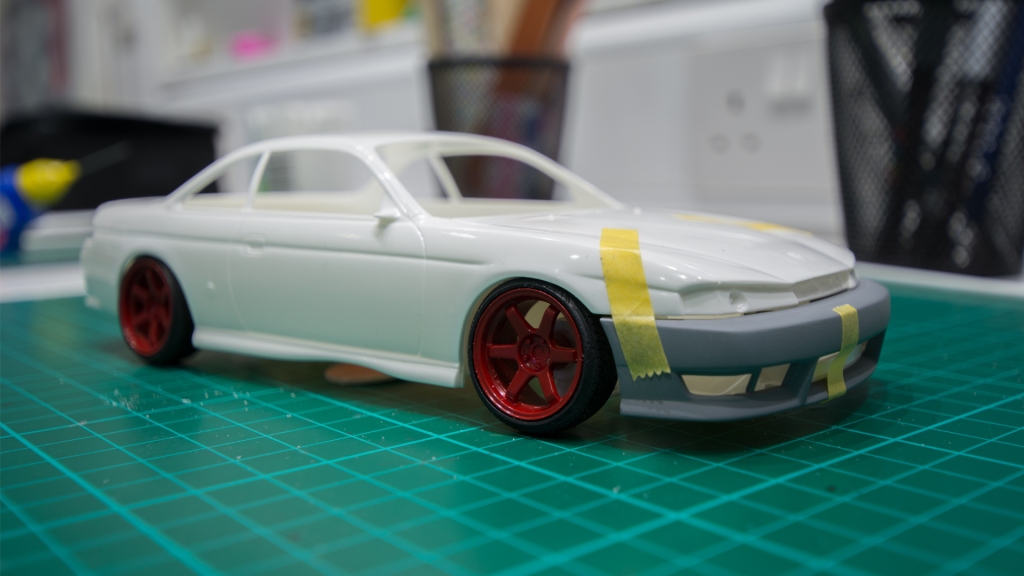
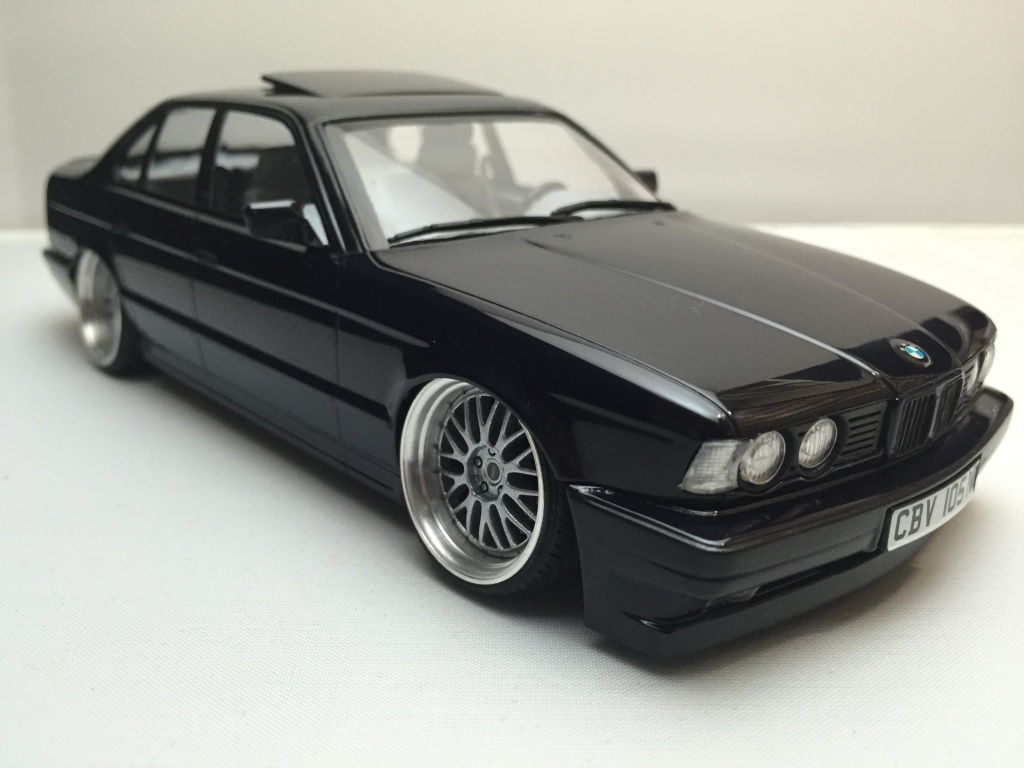
Something common among model kits, is that the ride height almost always looks a little bit too high when compared to the real car. I’m going to show you how to lower your model car, to make it look something like this.

Now before we start, This tutorial will show you a technique that can be adapted to lower any model kit. It’s very easy, the materials are cheap, you should have most of them anyway and of course it’s great fun to do. Now we will start off with of course the model kit you want to lower, but more importantly the wheels you want to use.
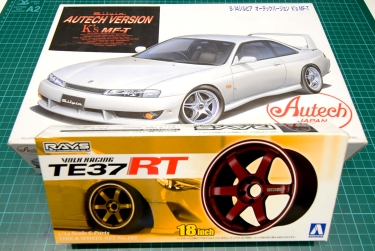
Now you need to be 100% sure that these are the wheels you’re going to use, because if you decide to change after you’ve done the work, if they’re bigger, smaller, different offset, etc. you’re going to have to undo all of that hard work that you’ve done lowering on the set of wheels that you decided on in the first place.
Now the material you will need:
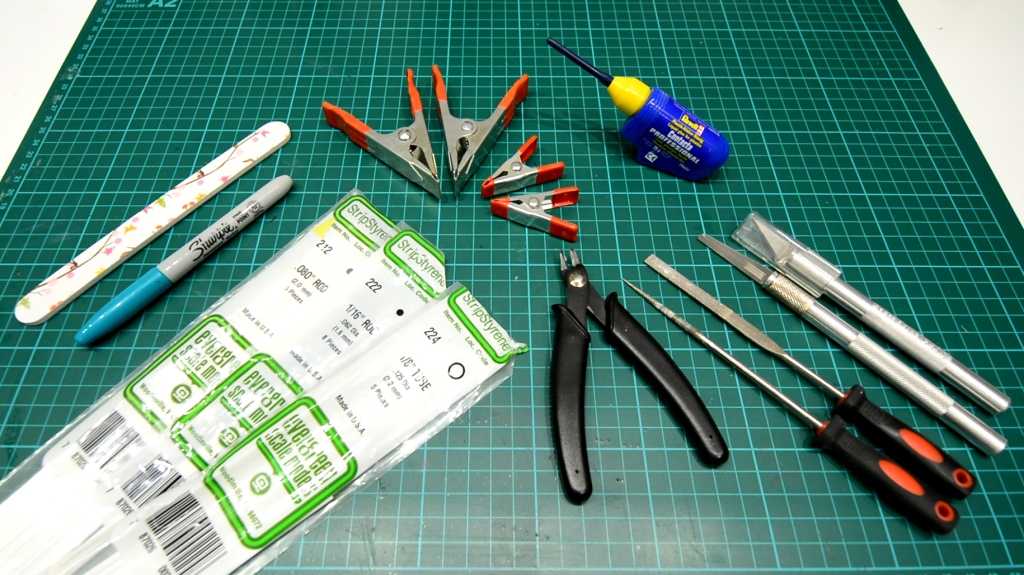
- A cutting mat.
- Rod and tube: You will need 1.6mm and 2mm rod and 3.2mm tube. Many companies make this, Evergreen, Plastruct, you will have to do a search of who your local dealers are depending on what country you’re living in, but they are widely available.
- A photo etch saw and a hobby knife. The photo etch saw that I’m using is .3mm thick, I wouldn’t go any thicker than that, you can go thinner, but personally I’ve not needed a thinner one, it cuts through styrene perfectly. It really is a great tool to have for any kind of scratch building you’re doing or modifying kit.
- A set of files: You will need a round one and a flat one.
- Sprue cutters
- Metal clamps: The minimum you need is two, I’d recommend these metal ones shown on the screen now, you can get other clamps that have loose bits at the end, they’re great for other purposes but not for this one and so it will make your life a lot easier if you use these clips.
- A sharpie of any colour.
- Styrene glue: Any make will do, whatever one you use will be fine for this.
- A fine nail file: This will be for cleaning up the parts that you use the flat nail file on, it will give you a nicer surface ready for when you prime the parts and paint them.
Lets get started! Here is a shot of the original suspension:

Now the first thing you need to do is mock the suspension up using the wheels you want to fit.

This will give you an idea of how much you want to lower the car by. To do this I used either a tube or a rod, but you can use anything as long as it gives you an idea of how much you need to lower the car by.
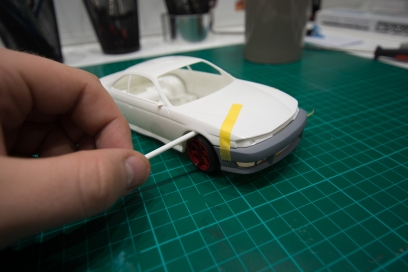
When you’ve found the thing you want to use, keep hold of it because you will need it later on as well!
You can then use that part to determine how much you need to cut off the top of the suspension part.

You will use the photo etch saw for this and once you’ve finished, clean up the suspension part where it’s been cut, this will allow you a nice flat surface to then glue your 1.6mm rod onto the top of it.

You can attach this via a clamp it will give you more precision and then once you’ve done that you can keep it upright and let the glue set.
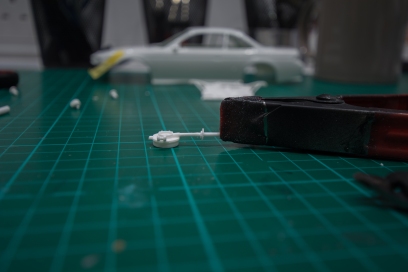
Once that’s done you can then fit the part loosely into the chassis and this will give you an idea of how much the car is now lowered by at one corner of course.
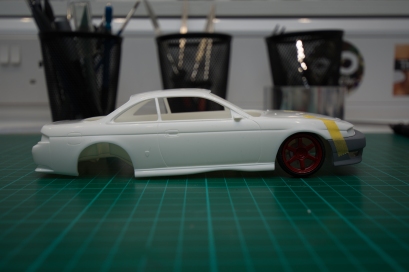
Here you can see the bottom of the suspension isn’t connecting with the lower arm at all, now in the next step I’m going to show you how to fill the gap. This is where your 3.2mm tube will come in.
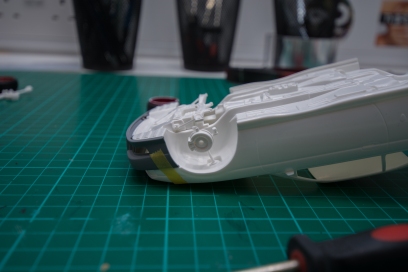
Make sure the edge of the tube is flat, glue it onto the suspension part and then of course wait for that to dry.
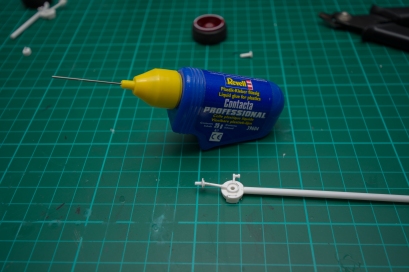
You will then use the item that you used to determine the drop of the car, you can then place that against the tube and use your sharpie to mark how much needs to be cut off the tube.
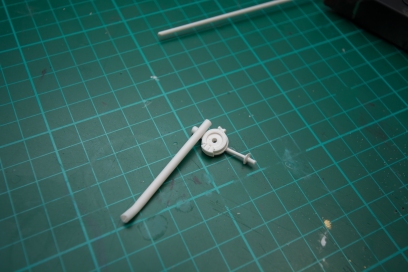

Then use your photo etch saw to cut the extra tube off, of course making sure that the tube is completely glued to the suspension part and dried beforehand.

Now onto the next step, you will need your round file to enlarge the opening of the lower arm and this will allow the 1.6mm rod to go through.
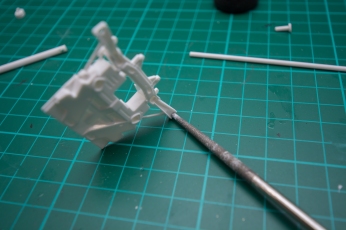
The hole doesn’t need enlarging by much, but just enough for the rod to fit in without being too tight.

You can then mock the suspension back up again and then once you’re happy with how it sits and it’s all looking level you can then glue the rod in place and then cut off any extra that isn’t needed.


Now whilst in the mock up stage you do need to check that the wheels will still be able to turn. Now this was poor planning on my part, I actually sanded the back of the wheels off to meet the tyres. So this next part wasn’t needed, but it has been needed on other builds, so I will show you anyway. You can see here that the flat lower arm won’t allow the wheel to turn now that it’s lowered because normally it sits inside the wheel.
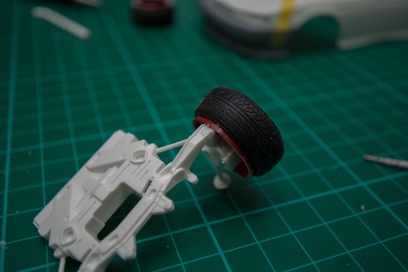
All you need to do is take your flat file and round the edge off and then use your nail file to finish it off ready for paint.
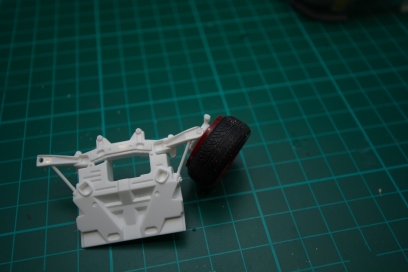
Now the only thing left to do is to repeat the process three times for the remaining three corners of the car. The back suspension is almost identical, again some kits are different, but the process is generally exactly the same.
And now the best bit! You can now mock your car up with the lowered suspension and it should look something like this, if you’re building a Silvia of course, but at this point you should be happy with how it’s sitting, it may need slight adjustment it in terms of extra poke or things like that. You can use a combination of rod and styrene to act as spacers for the wheels.
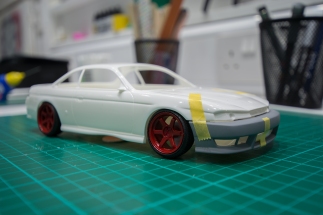


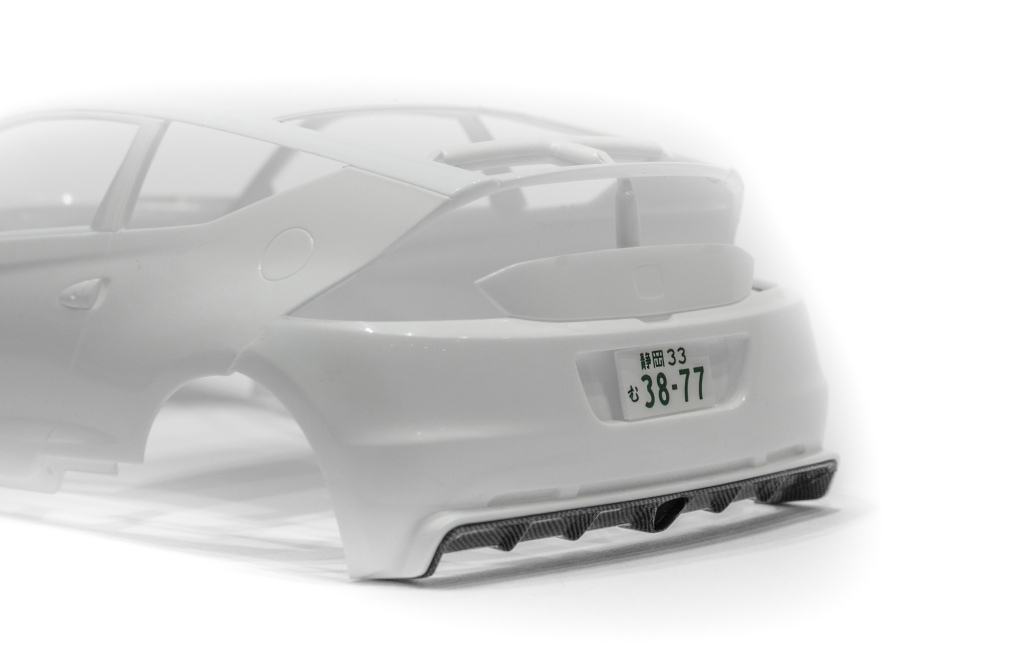
This the Honda CRZ Mugen by Fujimi, the process was pretty much exactly the same for the front and the rears were very different, but still the same if that make sense?

If you take a look at my Facebook page you will see the difference on that kit but again it was very easy to do. Once you’ve got this technique down, you can adapt it for any kit, trust me!
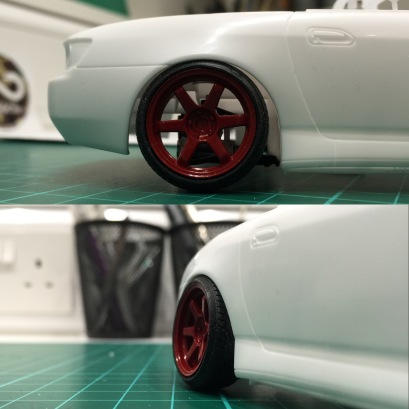
This method even works with Tamiya kits! Here’s a Honda S2000 lowered on the same wheels and even with a touch of camber as well. That was achieved by actually using a micro drill to drill holes in the suspension pieces at a slight angle and this achieved the slight negative camber.
Have any questions? Please leave a comment and I’ll get back to you!
See the tutorial video here:




Leave a comment